Mastering the Hot Process Soap Making Method
- Lee Butler
- Oct 21, 2025
- 4 min read

Soap making is an art and a science combined. Among the various techniques, the hot process soap method stands out for its unique approach and benefits. This method allows soap makers to create beautiful, long-lasting bars with a rustic charm. Whether you are a beginner or an experienced soap maker, mastering this method can elevate your craft to new heights.
Understanding the Hot Process Soap Method
The hot process soap method involves cooking the soap mixture to speed up the saponification process. Unlike cold process soap making, where the soap cures over several weeks, hot process soap is ready to use much sooner. This is because the heat accelerates the chemical reaction between oils and lye, turning them into soap.
The process starts by mixing oils and lye water, then heating the mixture in a slow cooker or double boiler. The soap batter thickens and eventually reaches a gel-like consistency. Once cooked, the soap can be poured into molds immediately. After a short curing period, the soap is ready for use.
This method is ideal for those who want to make soap quickly without sacrificing quality. It also allows for more flexibility in adding ingredients like exfoliants, fragrances, and colorants after the cooking phase.

Step-by-Step Guide to the Hot Process Soap Method
Mastering the hot process soap method requires attention to detail and patience. Here is a practical step-by-step guide to help you get started:
Gather Ingredients and Equipment
Oils (coconut, olive, palm, etc.)
Lye (sodium hydroxide)
Distilled water
Slow cooker or double boiler
Thermometer
Stick blender
Soap molds
Safety gear (gloves, goggles)
Prepare the Lye Solution
Carefully add lye to distilled water (never the other way around) and stir until dissolved. Let it cool to about 100-110°F.
Heat the Oils
Combine your oils and heat them to the same temperature range as the lye solution.
Mix Lye and Oils
Slowly pour the lye solution into the oils while blending with a stick blender. Blend until you reach a light trace (a pudding-like consistency).
Cook the Soap
Transfer the mixture to the slow cooker. Cook on low, stirring occasionally. The soap will go through several stages: from thickening to a translucent gel phase.
Test for Doneness
When the soap looks like mashed potatoes and passes the zap test (no tingling sensation when touched to the tongue), it is ready.
Add Extras
Stir in fragrances, colorants, or additives.
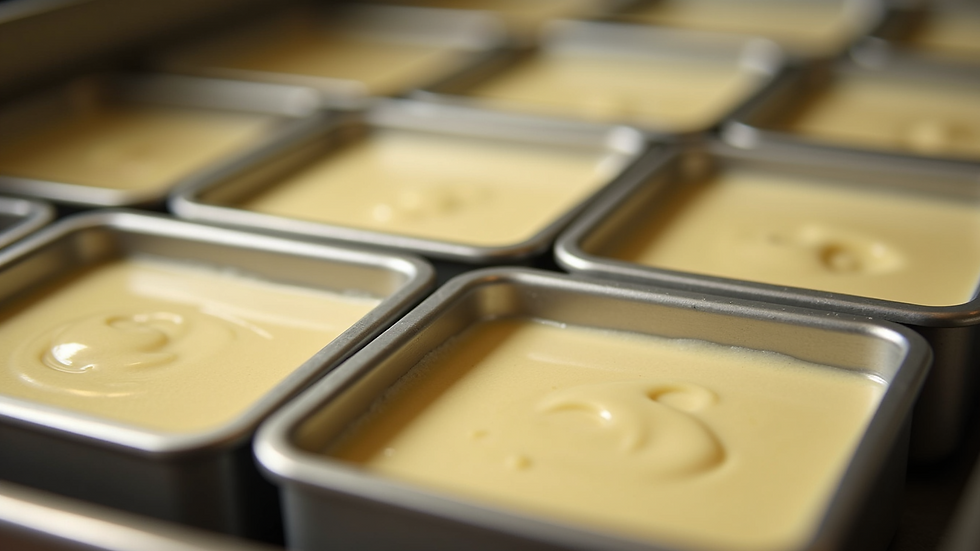
Mold and Cure
Pour the soap into molds. Let it harden for 24-48 hours before unmolding. Although hot process soap can be used sooner than cold process, a short cure improves hardness and longevity.
This method is forgiving and allows for experimentation. For more detailed instructions and variations, check out this hot process soap tutorial.
How much sugar to add to hot process soap?
Sugar is a common additive in soap making because it helps create a rich, bubbly lather. However, the amount of sugar added to hot process soap must be carefully controlled to avoid issues like overheating or sticky soap.
A general guideline is to add 1 teaspoon of sugar per pound of oils. This small amount enhances lather without causing the soap to overheat during the cooking phase. If you add too much sugar, the soap can become sticky or even bubble over in the slow cooker.
To add sugar safely:
Dissolve the sugar in the lye water before mixing with oils.
Monitor the temperature closely during cooking.
Avoid adding sugar if you are using very hot temperatures or a high amount of coconut oil, as this combination can increase the risk of overheating.
Adding sugar is optional but recommended for those who want a luxurious, bubbly bar. Experiment with small batches to find the perfect balance for your recipe.

Tips for Enhancing Your Hot Process Soap
To make your hot process soap stand out, consider these practical tips:
Use Quality Oils: The choice of oils affects the soap’s hardness, lather, and moisturizing properties. For example, coconut oil creates bubbles, olive oil adds gentleness, and castor oil boosts lather.
Control Temperature: Keep the cooking temperature between 170-180°F to avoid overheating and ensure even saponification.
Add Fragrances and Colorants After Cooking: Since the soap is hot, some fragrances may evaporate or change scent if added too early. Add them after cooking to preserve their aroma.
Experiment with Additives: Natural exfoliants like oatmeal, coffee grounds, or dried herbs can add texture and benefits.
Use Silicone Molds: They make unmolding easier and reduce the risk of damaging the soap.
Label Your Batches: Keep track of your recipes, additives, and curing times for consistent results.
By following these tips, you can create beautiful, effective soap bars that your customers or family will love.
Exploring the Benefits of Hot Process Soap Making
The hot process soap method offers several advantages over other soap making techniques:
Faster Production: Soap is ready to use in a few days instead of weeks. This is perfect for last-minute gifts or small business production.
Rustic Appearance: The texture is often more natural and less polished, which appeals to those who prefer handmade aesthetics.
Versatility: You can add ingredients after cooking without worrying about them degrading during saponification.
Reduced Risk: Since the soap is cooked, the lye is fully neutralized, making it safer to handle sooner.
Customization: Easily adjust recipes and additives to create unique bars tailored to different skin types or preferences.
These benefits make the hot process soap method a favorite among hobbyists and professional soap makers alike.
Mastering the hot process soap method opens up a world of creative possibilities. With practice and patience, you can craft beautiful, nourishing soaps that stand out for their quality and charm. Whether you want to make soap for personal use or start a small business, this method offers a reliable and rewarding path to success. For more inspiration and detailed recipes, explore the hot process soap tutorial and start your soap making journey today!


Comments