Hot Process Soap Crafting Tutorial
- Lee Butler
- Sep 23, 2025
- 4 min read

Soap making is a rewarding and creative craft that allows you to produce beautiful, natural, and personalized soaps. Among the various soap making methods, hot process soap making stands out for its unique approach and faster curing time. This tutorial will guide you through the essentials of hot process soap making, providing practical tips and detailed steps to help you create your own handcrafted soaps at home.
Understanding Hot Process Soap Making
Hot process soap making is a method where oils and lye are combined and cooked to speed up the saponification process. Unlike cold process soap, which requires a long curing time, hot process soap is ready to use much sooner. This method involves heating the soap mixture, which accelerates the chemical reaction that turns oils into soap.
Why Choose Hot Process Soap Making?
Faster curing time: Hot process soap can be used in as little as a week.
Rustic texture: The soap often has a more textured, handmade look.
Customization: You can add exfoliants, herbs, and other additives after cooking.
Less risk of lye pockets: The cooking process ensures thorough saponification.
This method is ideal for those who want to enjoy their soap sooner and appreciate a more natural, artisanal appearance.

Essential Ingredients and Equipment for Hot Process Soap Making
Before starting, gather the necessary ingredients and tools. Using quality materials will ensure the best results.
Ingredients
Oils and fats: Common choices include olive oil, coconut oil, palm oil, and castor oil.
Lye (sodium hydroxide): Essential for saponification.
Water: Distilled water is preferred to avoid impurities.
Additives: Essential oils, colorants, herbs, or exfoliants for customization.
Equipment
Heat-resistant mixing bowls or pots: Stainless steel or enamel-coated.
Stick blender: For mixing the soap batter.
Thermometer: To monitor temperatures.
Soap mold: Silicone molds work well.
Safety gear: Gloves, goggles, and long sleeves to protect from lye.
Safety First
Always work in a well-ventilated area and wear protective gear. Lye is caustic and can cause burns if mishandled.

Step-by-Step Hot Process Soap Making Guide
Follow these steps carefully to create your own hot process soap.
1. Prepare Your Workspace and Safety Gear
Set up your workspace with all ingredients and equipment within reach. Put on gloves, goggles, and protective clothing.
2. Mix Lye and Water
Slowly add lye to distilled water (never the other way around) while stirring gently. The mixture will heat up and release fumes, so do this in a ventilated area. Let it cool to about 120°F.
3. Heat Oils
Combine your oils in a pot and heat them to around 120°F. Use a thermometer to check the temperature.
4. Combine Lye Solution and Oils
Pour the cooled lye solution into the heated oils. Use a stick blender to mix until you reach "trace" - a pudding-like consistency.
5. Cook the Soap Mixture
Transfer the soap batter to a slow cooker or double boiler. Cook on low heat, stirring occasionally. The mixture will go through stages - from thickening to a translucent gel-like state. This usually takes 1 to 2 hours.
6. Test for Completion
To check if saponification is complete, take a small amount of soap and place it in water. If it dissolves without residue, it’s ready.
7. Add Fragrances and Additives
Once cooked, add essential oils, colorants, or exfoliants. Mix well.
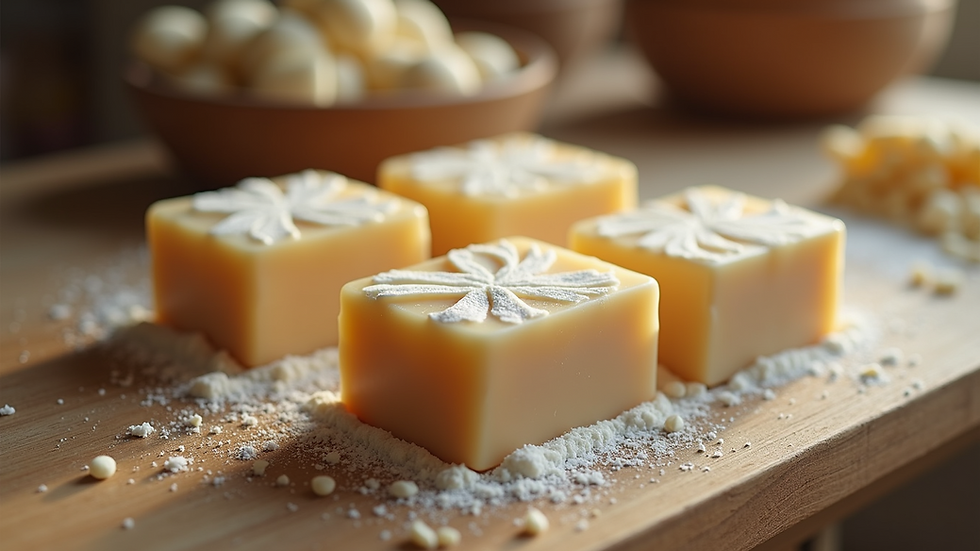
8. Mold the Soap
Pour the soap into molds and smooth the surface. Cover with a towel or plastic wrap to retain heat.
9. Unmold and Cure
After 24 hours, unmold the soap. Although hot process soap is usable sooner, letting it cure for a week improves hardness and longevity.
Tips for Successful Hot Process Soap Making
Use a reliable recipe: Stick to tested recipes for safety and quality.
Monitor temperatures: Keeping oils and lye at similar temperatures helps achieve trace.
Be patient during cooking: Stir occasionally but avoid overmixing.
Customize carefully: Add fragrances and colors after cooking to preserve their properties.
Clean equipment promptly: Soap hardens quickly and can be difficult to remove.
For more detailed recipes and inspiration, check out this hot process soap tutorial.
Exploring Creative Additions and Variations
Hot process soap making offers endless possibilities for customization. Here are some ideas to personalize your soap:
Exfoliants: Add oatmeal, coffee grounds, or poppy seeds for texture.
Herbs and botanicals: Incorporate dried lavender, rose petals, or chamomile.
Colorants: Use natural clays, activated charcoal, or mica powders.
Essential oils: Blend scents like lavender, peppermint, or eucalyptus for aromatherapy benefits.
Swirls and layers: Experiment with layering different colors or swirling techniques.
Remember to add delicate ingredients after the cooking phase to preserve their qualities.
Caring for Your Hot Process Soap
Proper storage and use will extend the life of your handmade soap.
Store in a dry, ventilated area: Avoid moisture to prevent softening.
Use a soap dish with drainage: Keeps soap dry between uses.
Cut into smaller bars: Helps soap dry faster and last longer.
Rotate soaps: Use different bars to allow each to dry fully.
By following these tips, your hot process soap will remain effective and beautiful for months.
Hot process soap making is a fulfilling craft that combines creativity with science. With this tutorial, you have the knowledge to start your soap making journey confidently. Whether you want to create gifts, start a small business, or enjoy natural skincare, hot process soap offers a versatile and rewarding option. Happy crafting!


Comments